Combining Techniques: Patch, Blur, Masking, and Layer Adjustment
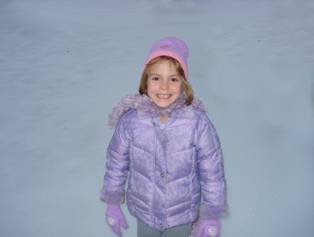
1 OPEN: snowgirl.jpg
1.
For starters, use the ![]() clone
and
clone
and ![]() patch
tool to remove everything but the snow and the girl. Clone to get rid of the
big stuff. Patch small things. Blend using the patch tool after cloning.
patch
tool to remove everything but the snow and the girl. Clone to get rid of the
big stuff. Patch small things. Blend using the patch tool after cloning.

2.
 Next,
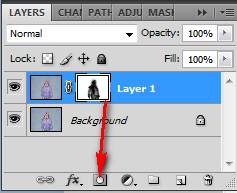
duplicate the layer (
Next,
duplicate the layer (![]() +J).
On the top layer, apply a Guassian Blur filter—Filters> Blur> Guassian
Blur.
+J).
On the top layer, apply a Guassian Blur filter—Filters> Blur> Guassian
Blur.
Set blur to around 15 px.
3. Now, create a layer mask and paint out the girl so she will NOT be blurry (click the Mask and paint on it in black to hide that blurry area).
4. To brighten up the snow, try the Curves adjustment. Create a Curves Adjustment layer (Layer> Adjustments> Curves) and pull the white side in a little bit.
5.
 That’s
it! This would be a great image to add some fun embellishments to (perhaps some
custom snowflake brushes!).
That’s
it! This would be a great image to add some fun embellishments to (perhaps some
custom snowflake brushes!).

VARIATIONS: Instead of using a blur, try other filters on the duplicate
layer instead, such as artistic or texture and then paint black over the face
to bring out the clarity.