Panoramas: Sewing photos together automatically!
1. Create a Photomerge using the photos in the Merge1 folder. Click File> Automate> PhotoMerge to begin.
2.
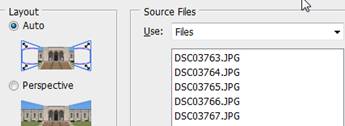
Click browse to select the photos (it helps if
they are in order numerically before you add them). Set Layout to Auto and be
sure to check ![]() at the bottom of the dialog box. Then, press
OK.
at the bottom of the dialog box. Then, press
OK.
3.
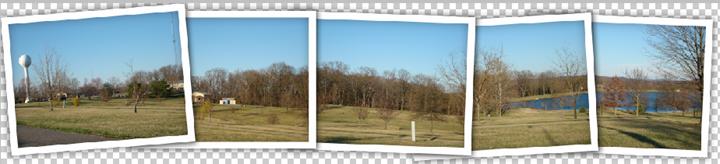
Photoshop will automatically combine, align, and
blend the photographs! WHOA! Blending is
done without destruction to source pictures (no deleting parts) using masks.
More on that in a bit.
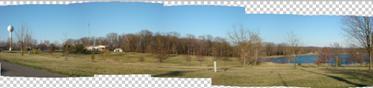
4.
![]() Next,
just crop the photograph so you don’t have blank spaces around the edges using
the Crop tool from the Toolbox. Click the crop tool, draw a rectangular area
around the good parts, and double click inside the selection to finalize the
crop.
Next,
just crop the photograph so you don’t have blank spaces around the edges using
the Crop tool from the Toolbox. Click the crop tool, draw a rectangular area
around the good parts, and double click inside the selection to finalize the
crop.

+ ON YOUR OWN: Add text or embellishments to the banner

Polaroid Panoramas: Aligning photos and giving them a cool Polaroid effect!
1.
Repeat steps 1 and 2 for creating a standard
photomerge, but instead of choosing Auto layout, set to Reposition and do NOT check
to blend.
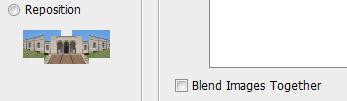
Press OK to continue and watch Photoshop work its magic.
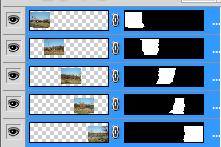
2. Notice that the photos are lined up on their common areas, but they are not blended. Each one is still rectangular. Click the top layered photograph (far left) to select it.
3.
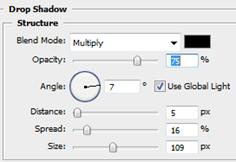
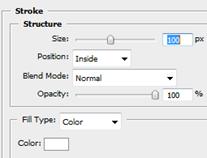
![]() Set
layer styles (bottom of Layers palette) as follows: 1--drop shadow, 2--stroke,
3--inner shadow
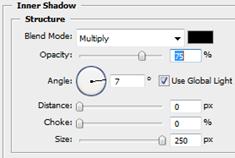
Set
layer styles (bottom of Layers palette) as follows: 1--drop shadow, 2--stroke,
3--inner shadow
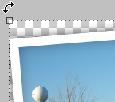
4.
You should see a nice border. Point to the
corner and get a rotation handle.
 Click
and drag to rotate slightly. Double-click inside the picture to accept the
change.
Click
and drag to rotate slightly. Double-click inside the picture to accept the
change.
5.
Right click the layer with the styles ![]() and click
and click ![]()
6. Right click each other layer and Paste Layer Style. Rotate as you see fit. You should end up with something like this.