|

|
Start
a new document about 500x500 and fill it with a black background.
Set
your forground color to orange.
Then
use the Ellipse Tool  and draw a round/oval shape. and draw a round/oval shape.
|
|
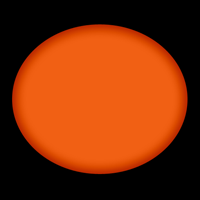
|
Next
apply the following Inner Shadow layer style to this shape.
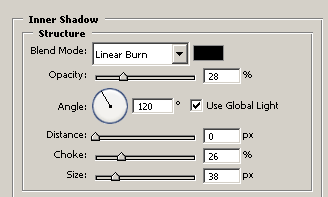
|
|

|
Now
use the eclipse shape tool again, this time draw another round shape on top
of the previous shape, about the same height but narrower in width. See
example. (I made mine in WHITE so you can see the shape I drew, but your
color should remain orange as above)
|
|

|
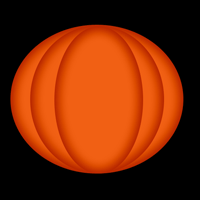
Now apply the SAME layer style to this layer as
you did to the previous layer. The easiest way to do this is hold down ALT,
Then drag the layer styles name (in the layers pallete)
over to the top layer then drop it.
|
|
|
Now repeat the above 2 steps, and draw ANOTHER
round shape above the previous, again, this time narrower but same height.
(you should get the idea by now???)
|
|

|
Now
do it 1 more time, this last shape should be very narrow.
Now
we should have our basic pumpkin
|
|

|
Create
a new layer above ALL other layers.
Now
select the Polygonal Lasso Tool

Now
use this tool to draw out the mouth.
|
|

|
Fill
this selection on the new layer with white.
Now
apply the following layer styles to this new layer:
Inner Shadow
Gradient overlay
|
|

|
Now
make sure you are still working on the new layer (the one you drew the
mouth), then select the Polygonal Lasso Tool again, then draw the EYES
Now
all you have to do is use the paint buck and fill it with a color. Since we
are still working on the mouth layer, the layer style from that applies to
the eyes.
Repeat
to draw the nose.
|
|

|
Now
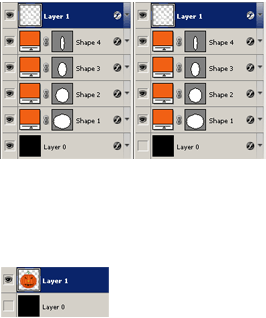
merge all the layers (except background) together. One way of doing this is
hide the background layer, then go to Layer » Merge Visible
|
|
|
Now,
you should be working on the merged layer.
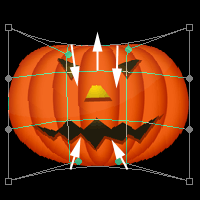
Got
to Edit » Transform » warp
Now
move the warp grids as indicated by the image on the left.
This
will shape the pumpkin to look more like a pumpkin instead of it been so
round...
|
|
DOWNLOAD PSD FILE!

|