Photoshop Chapter 1: In the Lab 2
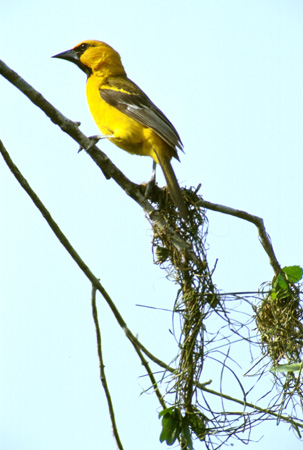
Problem: The owner of Birdhouses Incorporated is preparing a booklet to ship along with the custom ordered birdhouses he creates for his clientele. He would like you to take one of the pictures he has taken of a finch atop a tree and create a bordered photo of just the finch. The blended border should be black with a normal blend and 50 pixels wide to match the other bird photos in the booklet.
Instructions:
- Start Photoshop.
- Open the file, Finch, from the Photoshop Chapter 1 folder.
- Use the Save As command on the File menu to save the file in your PS_lesson_1 folder with the name, Finch_Edited. If the JPEG Options dialog box is displayed, click the OK button.
- Click the Zoom Tool button on the Tools palette. Click the bird to center it in the display. Zoom in as necessary so you can make precise edits.
- Crop the picture with approximately .75 inches on all four sides of the bird. Use the ruler to help you determine how much room to leave around the bird.
- Save the photo again.
- Press Command+A to select all of the photo.
- To create the border, do the following:
- On the Select menu, point to Modify, and then click Border.
- When the Border Selection dialog box is displayed, type 50 in the Width Box. Click OK.
- Press SHIFT+F5 to access the Fill command.
- When the Fill dialog box is displayed, click the Use box arrow and then click Black in the list.
- Click the Mode box arrow and then click Normal in the list, if necessary.
- If necessary, type 100 in the Opacity box. Click the OK button.
- Save the Photo again.
- You are to add a text box to match the image and border with a word that fits the image. It should complement the picture with color and size.
- The Instructor will do a visual check of your files. DO NOT PRINT.
- Close the document window.
- Quit Photoshop.