Photoshop Chapter 2: In the Lab 1
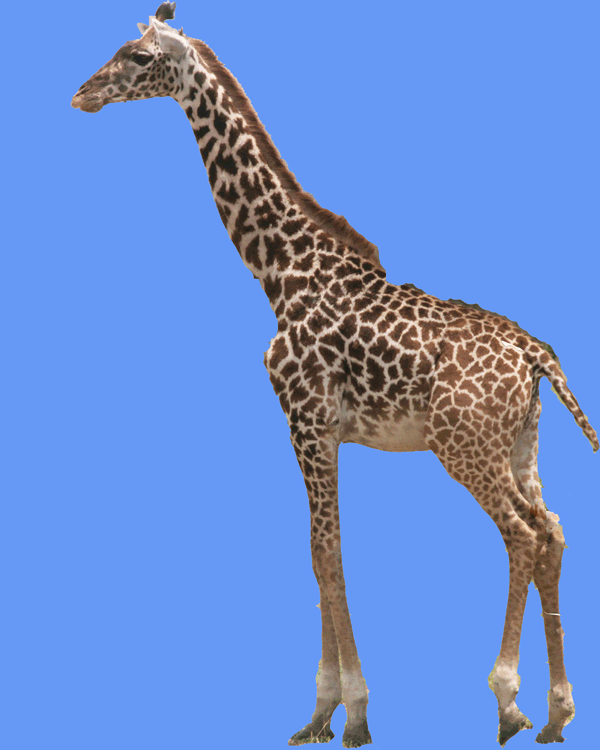
Problem: As e-cards gain popularity, the need for good graphics also has increased. A small e-commerce site has hired you as its photo specialist to assist with images and photos used in the greeting cards provided online. Your first assignment is to provide a clean image for a card whose greeting will read "Happy birthday! My how you've grown!" A photographer has submitted a photo of a giraffe, but the layout artist wants the giraffe to face the other way to fit in with the greeting he has designed. He also needs the background sky removed. You decide to practice using the function keys to perform most of the editing tasks. The edited photo displays at the bottom of this page.
Instructions:
- Be sure and read the Problem above. You need to know why you are working on this project in pretend world.
- Start Photoshop. Set the default workspace and reset all tools. Press D on the keyboard.
- Click on the Giraffe.jpg image in the assignment in Google Classroom to open it in a new window.
- When it opens in a new window, click on the kabob in the upper right hand corner and click on Open in New Window
- When it opens in a new window again, click the download icon
- Open the image in Photoshop from your Downloads folder.
- (5 points) After you open the file in Photoshop, you are to save it in your Documents/Photoshop/ps_lesson_2 folder as Giraffe_edited. If Photoshop displays a JPEG Options dialog box, click the OK button.
- If the photo does not display 100% magnification, increase the zoom
- If necessary, resize the document window to display the entire photo.
- Press the w key to choose the Magic Wand tool.
- Click the area of blue sky to the left of the giraffe.
- SHIFT+CLICK the area of blue sky to the right of the giraffe.
- Click any other portions of the sky that are not already selected.
- Press COMMAND+X to delete the selected areas.
- Press COMMAND+D to remove any selection border, if necessary.
- If some area of blue still is displayed, repeat Steps 8 through 11. If you make an error or some areas are deleted by mistake, click the first state in the History palette and begin again with Step 6.
- On the Magic Wand options bar, double-click the Tolerance box and type 0 to replace the value. Click the Anti-alias check box so it does not display its check mark. Click the Sample All Layers check box so it displays its check mark.
- With the Add to selection button selected, use the Magic Wand tool to select all the white areas of the photo.
- Press SHIFT+COMMAND+I to select the inverse (selecting everything in the image except the previous selections). The giraffe now should be selected.
- Press COMMAND+T to freely transform the giraffe selection. Right click the selection and the click Flip Horizontal on the shortcut menu.
- Press the ENTER key to commit the transformations.
- Press COMMAND+D to deselect, if necessary.
- Press COMMAND+S to save the file with the same name.
- (10 points) Be sure and smooth the giraffe edges. It is worth 10 points.
- You will need to add a text layer with your name in it. You can warp or color it. Make it look good!
- (4 points) You are to submit two images, a jpeg and a psd.
- (This step only if your instructor is present) Go to File and Print. You will preview the document for your instructor to see instead of printing. Raise your hand and wait patently for your instructor to view your document.


