COLOR ME CRAZY PROJECT—PhotoshopUsing the instructions
provided in the example, create a poster design similar to
the one in the previous assignment, but using your personal photos.
|
 6.
6. 7.
7. 8.
8.
 12.
12. 15.
15.Requirement
|
Points Possible
|
Deductions
|
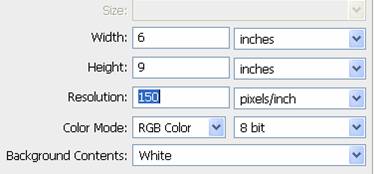
Set new
image size to 6” for width and 9” for height; resolution should be 150 ppi
(Save as CMC_Hump-Day.psd)
|
5 |
|
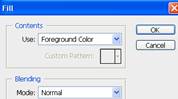
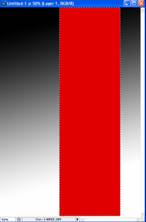
Gradient is
used for background; portions remain visible at project completion to
demonstrate gradient was used
|
5 |
|
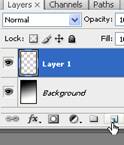
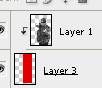
At least
two personal images are used; selections are clean and precise (zoom in
closely!!)
|
10 |
|
Selection of
images (varying poses and angles)
|
10 |
|
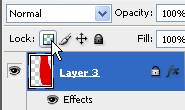
At least
two shapes are used as clipping paths with images; shapes are transformed
with warp tool
|
10 |
|
Shapes
include a white stroke
|
5 |
|
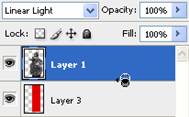
Photos are
desaturated and linear light applied for color effects (each shape may use a
different color fill or the same; it’s up to you)
|
10 |
|
Levels/contrast
are modified to increase overall sinister tone of project
|
5 |
|
Text is added to image and includes at least THREE of the special layer effects, such as satin, bevel, drop shadow, glow, etc. |
9 |
|
Overall
quality of project
|
6 |
|
Project
printed in color and attached to scoring guide
|
5 |
|
CALL TEACHER
OVER TO SIGN THIS BOX—it is for points! |
5 |
|
Questions |
20
|
|
TOTAL
|
105
|
|