Photoshop Lesson 6-3: Placing A Photo Inside Text
- Create a document from scratch
- Place a picture in text
- Layers palette placement
- Apply gradients using the Gradient Tool
Independent Practice
Assignment: The tutorial and below will walk you through the steps of creating a photo inside text.
- Go into PhotoShop and choose New from the File menu
- Name the file photo_text_yourname
- width of 11 inches
- height of 8.5 inches
- Resolution to 300 pixels/inch
- white background.
- Choose the type tool from the toolbox and click in the middle of your window
- Type your first or last name, whichever has a minimum of five letters
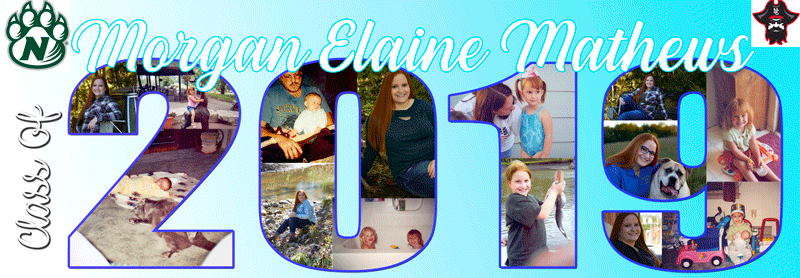
- Set your font and font size. Choose a font that has wide letters such as the example below.
- Type your name in all caps.
- You are to obtain a minimum of one image for every letter in your name with a minimum of five. Open the images you want to fill the type.
- Select the image and using the Move tool, move the image into the image that contains the type
- In the layers palette, position the layer for the dragged image above the type layer (refer to the tutorial image if you do not understand what the layers palate should look like.
- Be sure to Deselect the image
- Choose Layer>Group with Previous (or put your curser in between the layers and hold down the alt key to lock the layers)
- You will still be able to reposition the fill image by clicking and dragging the mouse around.
- You are to use a minimum of 5 images of you in your text that shows your face. It is fun and easy to do, just repeat steps 10-15.
- You are to add a gradient background that compliments your picture on the background layer to complete your picture.
- Submit as a JPEG, PSD and a Screenshot with Layers
 |